
Yoast SEO Setup and Configuration for WordPress
Whether you are a small business owner that just wants a website up and running, web designer, copywriter, or SEO professional, it is important to be able to properly configure a website you are working on for SEO best practices. The standard and best WordPress SEO plugin is Yoast SEO, and in this blog post we are going to walk through it’s configuration.
Yoast SEO has been around for a very long time, staying at the top of the SEO plugin lists because it offers features that are very important for your SEO, and it does them well.
Primary Yoast SEO Features
- Post and Page SEO optimization panel so you can customize the SEO title and description, get a basic gauge of how well optimized your post or page, and adjust index and follow rules for the post or page accordingly.
- Global index and follow rules for page types, etc, to globally limit indexation of content that you don’t want search engines like Google and Bing to crawl.
- XML Sitemap generation and customization that lets you build a proper sitemap to submit to search engines
Secondary and Automatic Features
- RSS Optimization
- Breadcrumbs
- Social Integration
Configuring Yoast SEO
After you have installed and activated the plugin via the WordPress backend or downloading it directly from the WordPress plugin directory, you will need to configure it.
A new “SEO” menu item will appear in the bottom left of your WordPress dashboard/admin. Click on it.
Yoast SEO Dashboard
You’ll see the dashboard popup first. This will show you any immediate problems or notifications. For the initial configuration, you will probably have a few, but let’s go through the configuration, which should take care of most of these.
Yoast General Settings Configuration
On the general tab, there is a Configuration Wizard button. Click that to begin the basic setup walkthrough for Yoast.
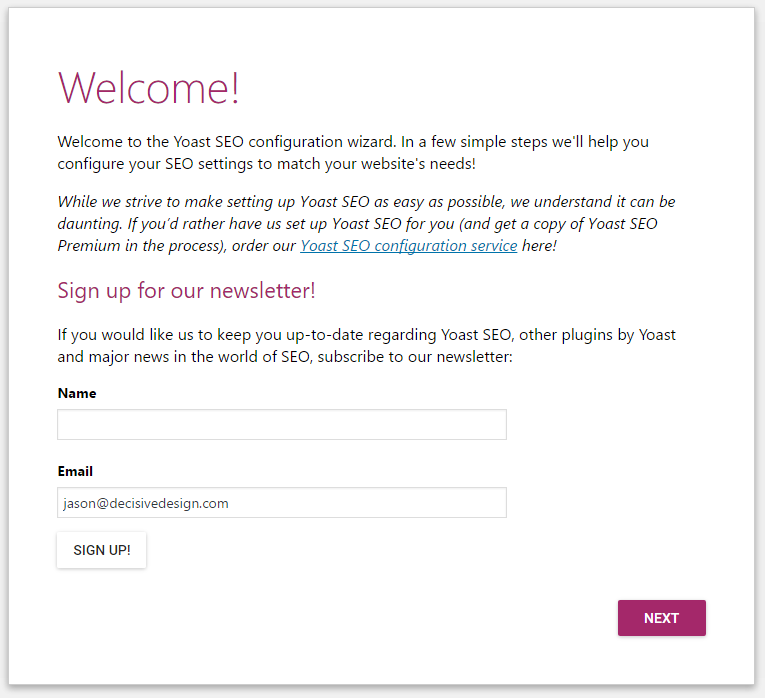
Yoast Setup Wizard Page 1 – Welcome
You do not have to sign up for the newsletter if you do not want to. You can just hit next. Either enter your details, or not, and click Next.
Page 2 – Environment
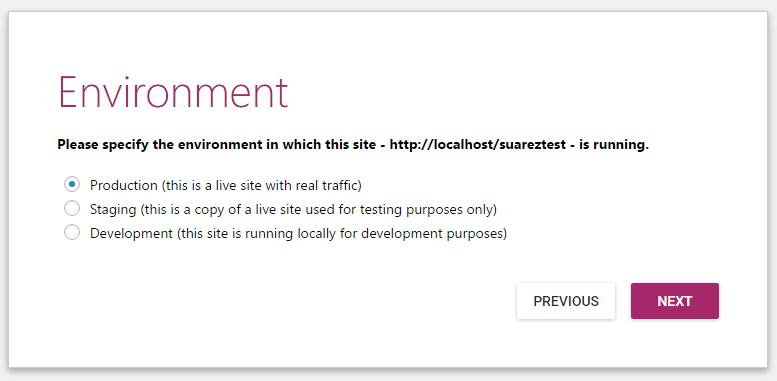
- If your website is live on the internet, you want to select “Production.”
- If it is a staging or development website that is visible on the internet, select “Staging.” This will make sure that the site doesn’t get indexed by search engines (you can change this later) by adding a noindex meta tag in the header.
- Then, if you are actually developing the site on a local computer/server/development environment, you can select the “Development” option. In this case, the website shouldn’t be publicly visible on the internet.
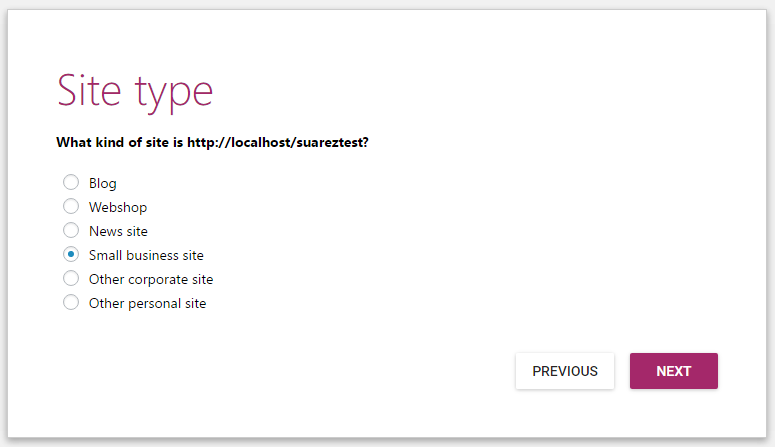
Page 3 – Site Type
This one is pretty self-explanatory, is your site just a blog, webshop/store, news site, small business site, corporate site, or personal site. Select the best option and click next.
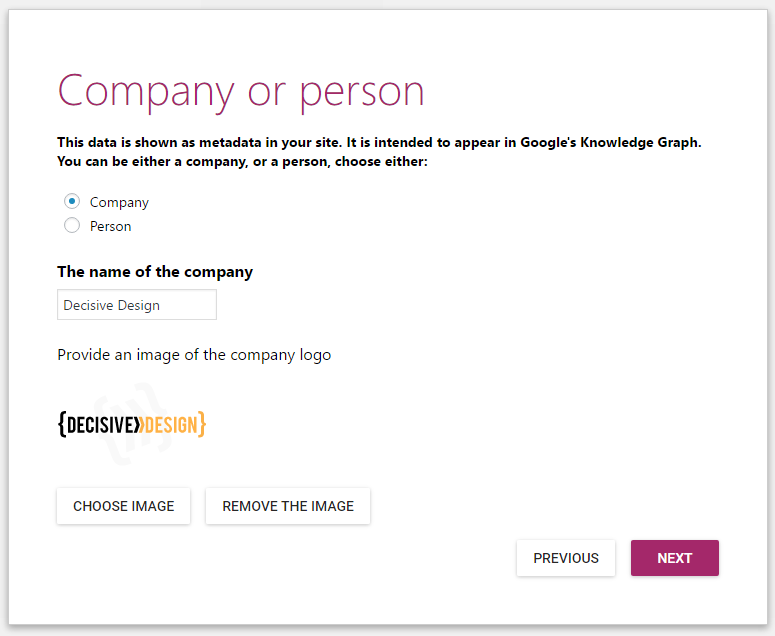
Page 4 – Company or Person
Are you a company or person? If you select company, enter your company name and add a logo if you have one. If you are a person, it will ask for your name.
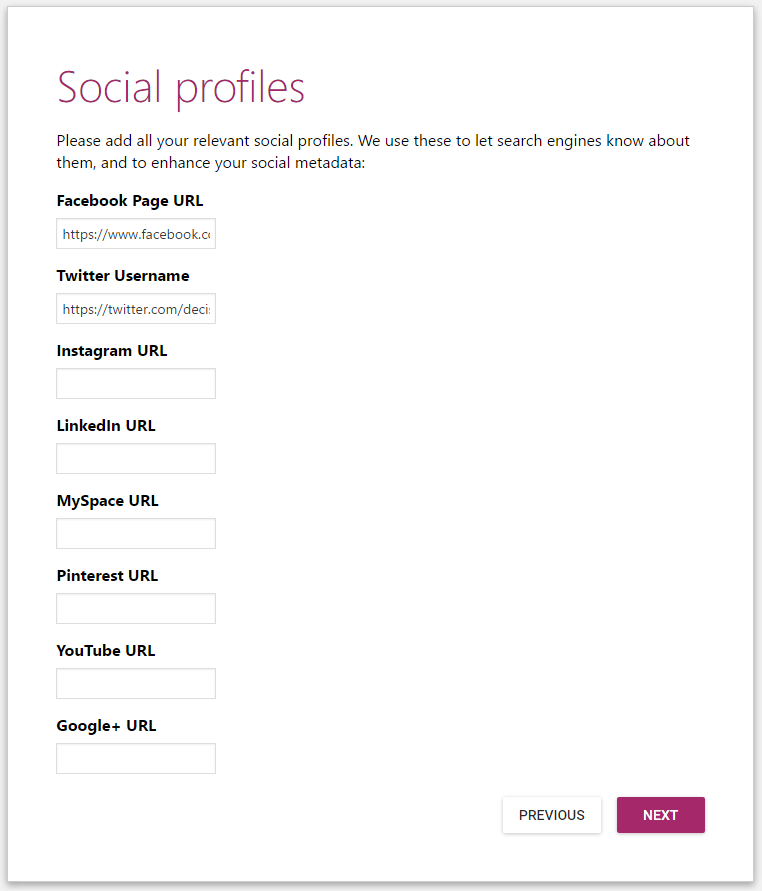
Page 5 – Social Media Profiles
Again, pretty self explanatory. Enter any social media profiles here so that Yoast can help out as much as possible with data that gets shared to social media, etc.
Page 6 – Post Type Visibility
This is where things get tricky if you’re not familiar with them.
This configurator page will list all of the “post types” for your WordPress site. The basic default WordPress post types are pages and posts – pretty self-explanatory. However, if you are using a pre-built theme, there may be other custom post types that have been added to do things like represent products, portfolio pieces, testimonials, events, etc.
The important thing to know here is that any post type (essentially a page on your website) that is not going to have good, valuable, SEO-worthy content on it, should be “hidden.” Now, that doesn’t mean that it will be hidden from visitors, it just means that you’re telling search engines like Google not to worry about it.
If you do not hide post types that will have duplicate or “thin” content, they will dilute the pages on your site that do have good content. And, duplicate content is always a bad thing.
So, always hide things like:
- Media
- Testimonials
- Portfolio (unless you build out portfolio pages with a lot of content and not just images and a few words)
- etc…

There may be many others you want to hide, but chances are you won’t want to keep more than posts, pages, and maybe a “Team” or “Events” one if they exist.
Page 7 – Multiple Authors
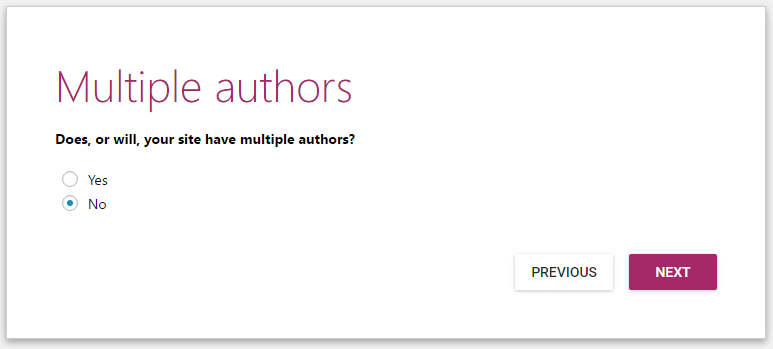
If you are only going to have one username posting blog articles, etc, select “no” here so Yoast can tell search engines to ignore author pages for indexing.
Page 8 – Google Search Console
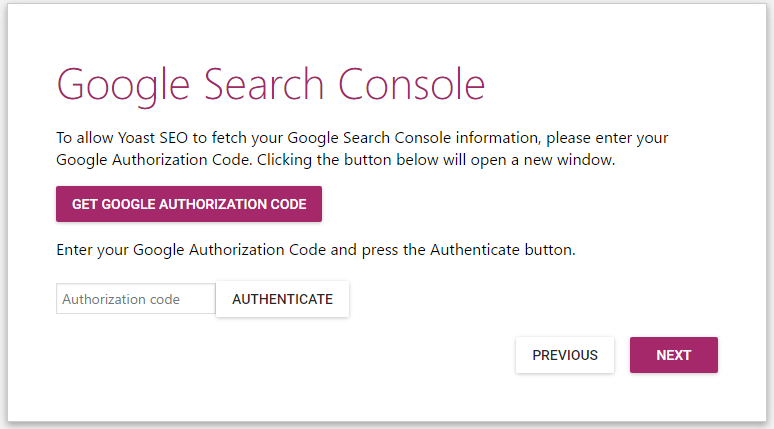
If you have Google Search Console set up for your site (you should, if not now then soon), you can add an authorization code here to link up Yoast to Google Search Console. Search Console gives impression and click data for keywords, lets you submit a sitemap to google (covered later), etc. If you’re serious about SEO, you should set it up.
Also of note, make sure add the www and non-www version of your website to Search Console (and an https:// version, if you have one) and configure the site setting in Search Console to favor the one you prefer.
If you don’t have Search Console, don’t worry, you can just click “Next” and add this back in under the settings after the configuration wizard is finished.
Page 9 – Title Settings
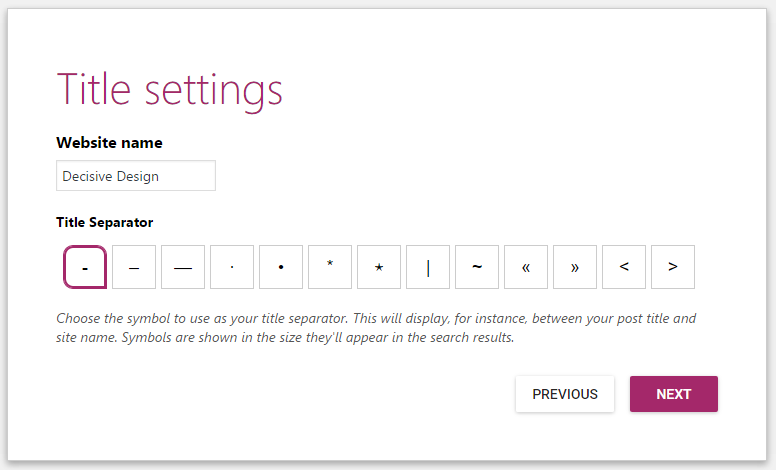
Enter your company’s name here and choose a separator. This will appear after your SEO Meta Title tag on all of your pages and is considered important for SEO and branding. The separator isn’t special, but typically we stick with the generic default dash.
This is the last real configurator page. After you click next and go to the next page, you an just click close.
Turn on Advanced Settings Pages
Do the following:
- Go back to the Yoast SEO dashboard
- Click on the Features tab
- Enable the “Advanced settings pages” section
- Click Save Changes.
You will now have some other options on the left side under “SEO” that we will tweak below.
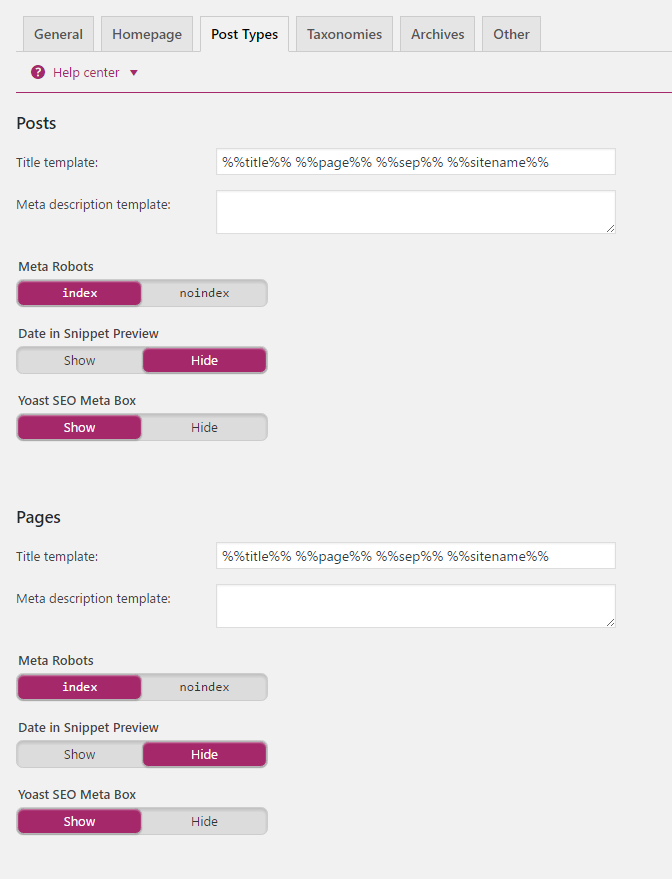
Titles & Metas
On the left side of your admin, click on “Titles & Metas” under “SEO.”
This is an extension of the options in the configurator, but a few of the settings need to be tweaked.
On the “Post Types” tab, all of the post types you selected to “hide” in the configurator should be marked as “noindex.” If not, do so. Again, posts, pages, and maybe a few others that may be relevant to SEO (good content) are the only post types that should be indexed.
Next, go to the Taxonomies tab. Select “noindex” for everything except Categories, unless you really know what you’re doing.
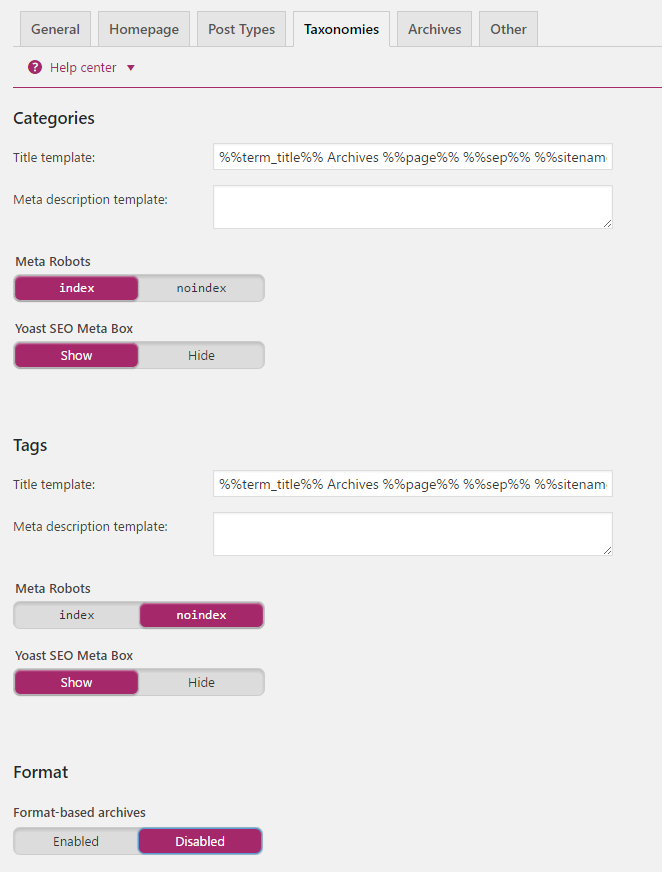
Make sure to save your changes.
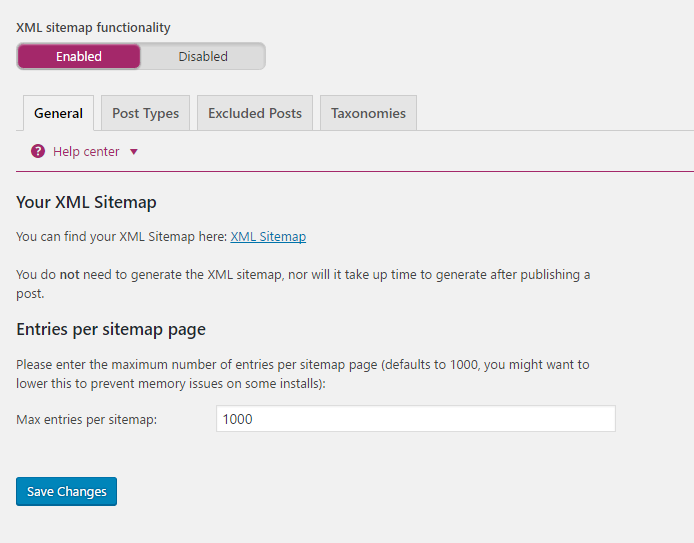
XML Sitemaps
This is not really an optional step if you are serious about SEO and getting your site ranked. I’m not sure why Yoast hides it from the configurator, etc, maybe because it is a little advanced.
On the left side of your WordPress admin, there is an “XML Sitemaps” option under “SEO.” Click on it.
It should be enabled. If not, enable it.
XML Sitemaps Configuration
Depending on the theme you are using, we need to make a few changes to what is included in your sitemap file. Similar to “hiding” certain post types when we went through the configurator, we are going to stop certain post types and taxonomies (categories, tags) from being included in the sitemap because you don’t want search engines like Google to waste their time on or be tempted to crawl them.
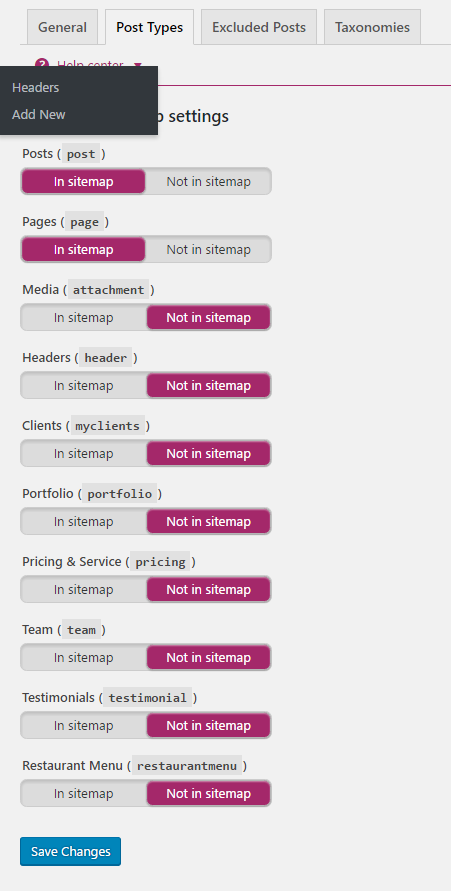
Click on the Post Types Tab
This should reflect the post types that you hid when you went through the configurator. Only the ones you left “visible” should be marked as “In sitemap.” If that is not the case, replicate those settings here and save your changes.
Click on the Taxonomies Tab
These are probably all still marked as “In sitemap.” and you probably have a bunch of them. Basically, every post type has a category and/or tag taxonomy. Unless you are an advanced user that knows some of your taxonomies have SEO-worthy content on them that will not be considered duplicate content or thin content, mark everything except “Categories” as “Not in sitemap.”
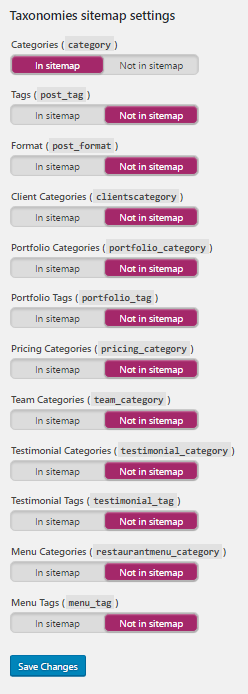
Save changes.
Submit your sitemap to Google Search Console (formerly webmaster tools) and Bing Webmaster Tools
Now, go back to the General tab (still in the sitemaps settings) and click on the link that says “XML Sitemap” in the middle of the page. That will take you to an XML page that has a list of your sitemaps that will each (if you have more than one) have a list of the URLs related to that sitemap. The url should be yourwebsite.com/sitemap_index.xml.
This url is what you want to submit to Google Search Console and Bing Webmaster Tools under the sitemap options to tell the search engines exactly which URLs you want them to index in their rankings.
As you add new pages and posts and any other post types you left as visible in the sitemaps, they will automatically be added by Yoast SEO and the search engines will see them as they periodically check your sitemap files.
Congratulations, You’re Ahead of the Pack!
Taking the time to set up and configure Yoast SEO for your website puts you way ahead of the vast majority of websites out there. And it wasn’t so bad, was it?
Now, all you need to do is go out there and create spectacular content that is truly valuable to your user and answers questions, solves problems, or simply makes them happy!
We wish you the best of luck!
The above page text is *not* easy to read. The main colour is a light-to-medium grey on a white background, which lacks contrast; and the worst bits are pale orange on a white background. These might work if they were large font and bold, but not here.
It needs to be darker: you’re here to *communicate* with people, so make it easy for us, eh?
Philip Tory BSc(Hons), Dip.M.
Technical Writer and International Trainer.
Fair enough, Philip! Thanks for your feedback. I quickly darkened things a few shades (you may not see the difference without clearing your browser’s cache) and will put some more time into it shortly.
Thanks again,
– Jason
Hi there,
I was really looking forward to finding the total YOAST SEO setup. I found it on your website. Thanks a lot for sharing this important piece of information. Everyone needs to know this process to make everything is okay on their website’s SEO plugin.
I appreciate this post